Today we recap Lincoln’s most recent photoshoot. This was done back in October but I still wanted to share it with you guys. I’ve shared some previous photoshoot blog post in the past and I still want to continue to do that. It’s one of my favorite things to do
So shall we get started??
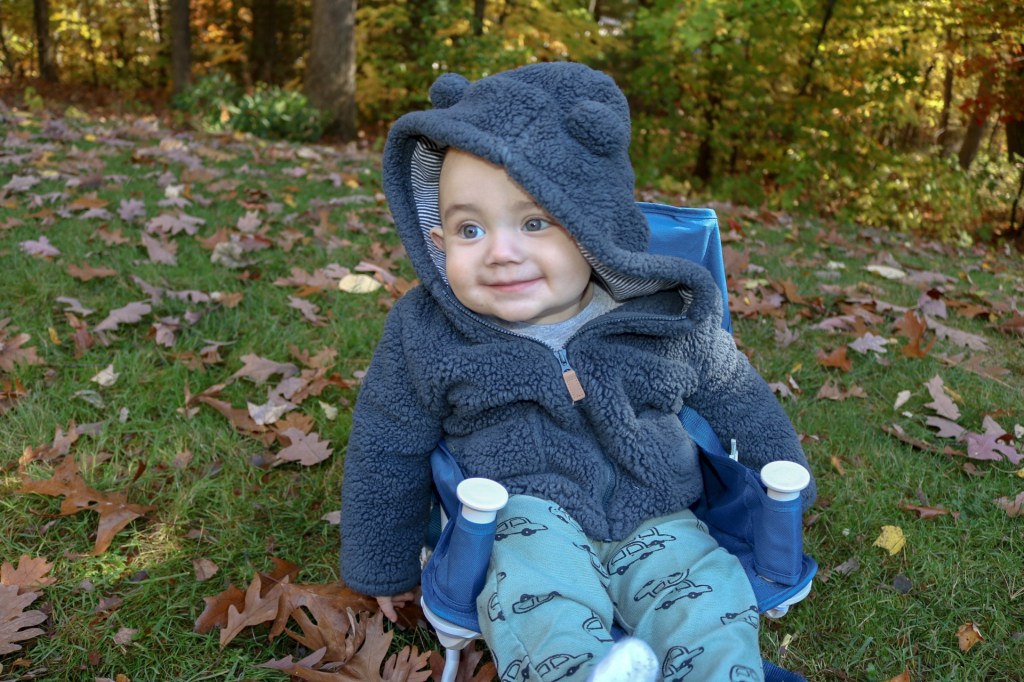
These photos were taken on October 17. A week after Lincoln’s first birthday. It was spontaneous of me to put this together so quickly which is very unlike me. I am insane and plan every aspect of my life including photoshoots. But this was a fun experience for me and gave me some practice for future photoshoots.
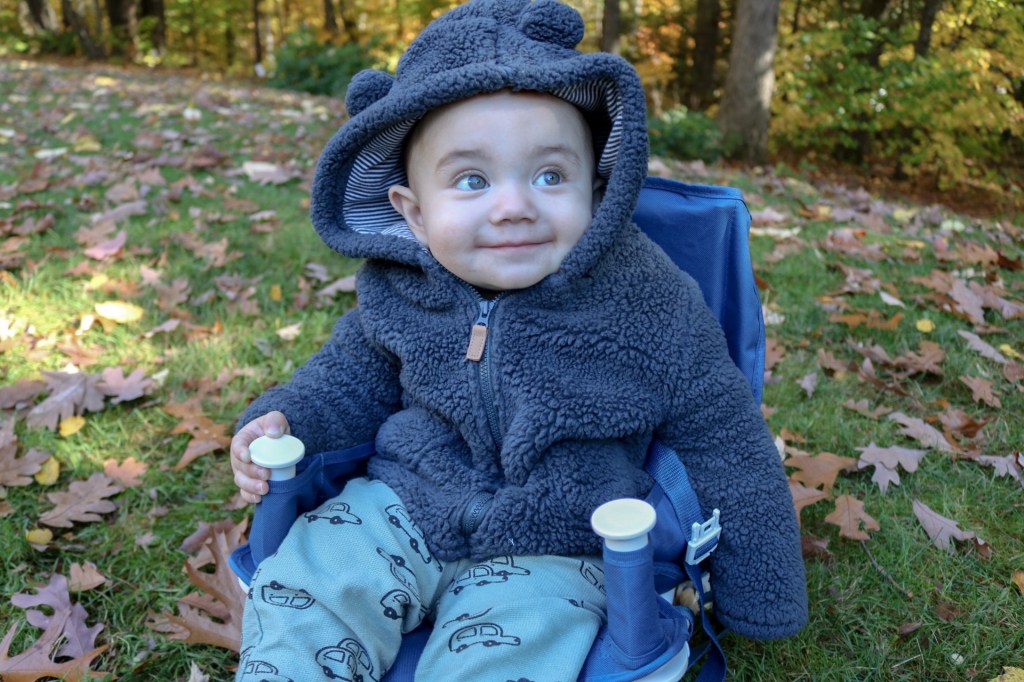
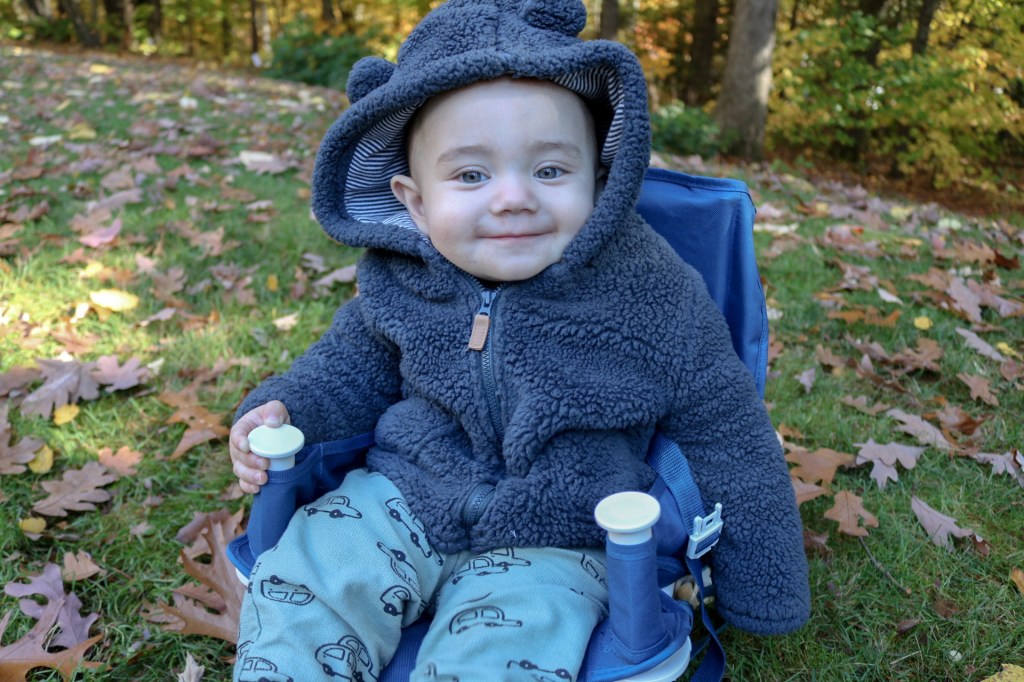
At the time of this shoot, Lincoln was not walking yet. He had times where he could just stand on his own but he was still working on his balance then. So that is why he is sitting in all the photos. If you were curious.


I use a Canon eos rebel t6i. I’ve had this camera for a long time. I HIGHLY recommend. This camera is what I got started with as a beginner. With every camera there are things you learn over time and I’m still learning myself. The fact that I’ve become very familiar with this one and specific settings that I personally like to use does make it easier but it’s all trial and error. Actually would be interesting to do a post on tips and tricks that I’ve learned with this camera and how I prefer to shoot my photos. Also got a new lens so we could test that out as well. Already getting ahead of myself.
For this post I will just focus on settings that I used for these photos because we all know I can ramble on.
So for settings I set my ISO at a 100
F stop was set to 3.5
Shutter speed was set to 1/50
ISO is used to control exposure so essentially it increases or decreases the brightness of a photo. Typically depends on your lighting and weather situation.
For example this shoot was set to 100, which is the lowest ISO, because it was already bright out. The sun was out so these photos got lots of light coming through. As we increase the ISO it’s usually because we need more brightness. In this situation I did not need any more brightness. Earlier I did an indoor portrait shoot with my sister. It is on the blog if you’re interested. But the ISO for that shoot was set to 800 which is typically for indoor situations. And for that shoot in particular it was moody with the lighting. A lot darker than any other indoor shoot.
I’ve explained aperture/f stop in a previous post so this one will be a quick recap. Aperture refers to what do you want in focus? Smaller aperture for example between 1.2-3.5 would give you a very blurry background. As you increase the aperture the background becomes more in focus. For these photos my aperture was set to a 3.5 which put Lincoln in focus and my background blurry. F stop is what they call to indicate aperture measurements
Now shutter speed is how fast you’d like to take each photo. Also can be called exposure time. Shutter is basically a device through the camera that opens to let in light as you take a picture. A slow shutter speed (taking a photo slowly) of 1/2 means the shutter will be open for half a second. A much faster shutter speed such as 1/2000 means it will only be open for 1-2- thousandth of a second. I will say that if I could go back I would adjust to a faster shutter speed. It was set to a 1/60 which wasn’t bad at all. I mean my subject is in focus and there’s plenty of light. But the fact that I had more than enough light means that I could’ve had a faster shutter speed. Possibly up to a 1/125. I’ll have to try that next time
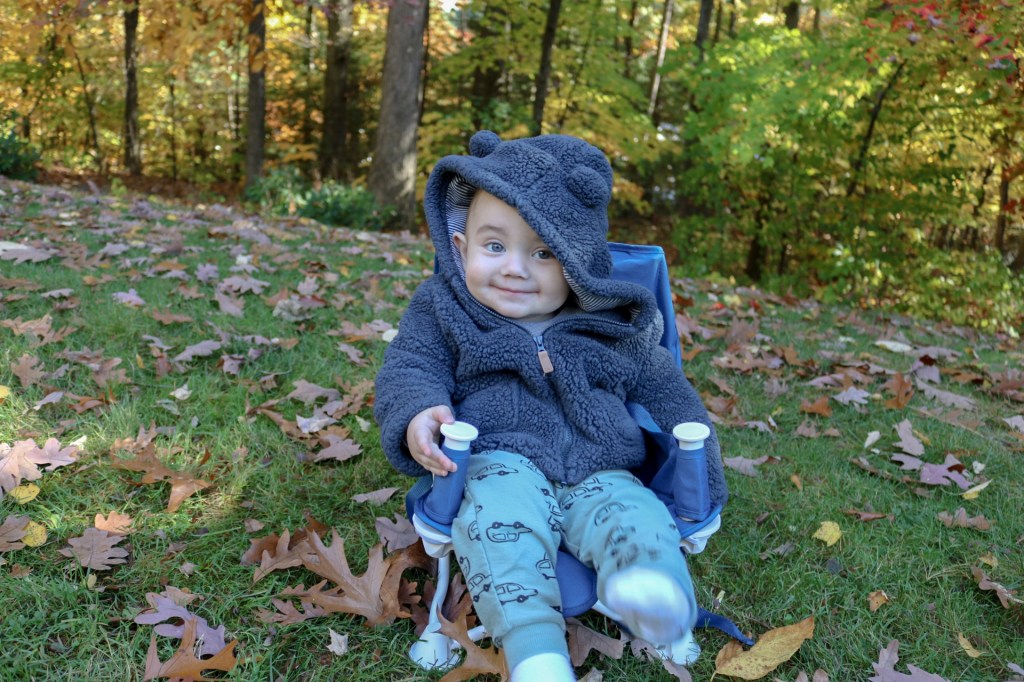
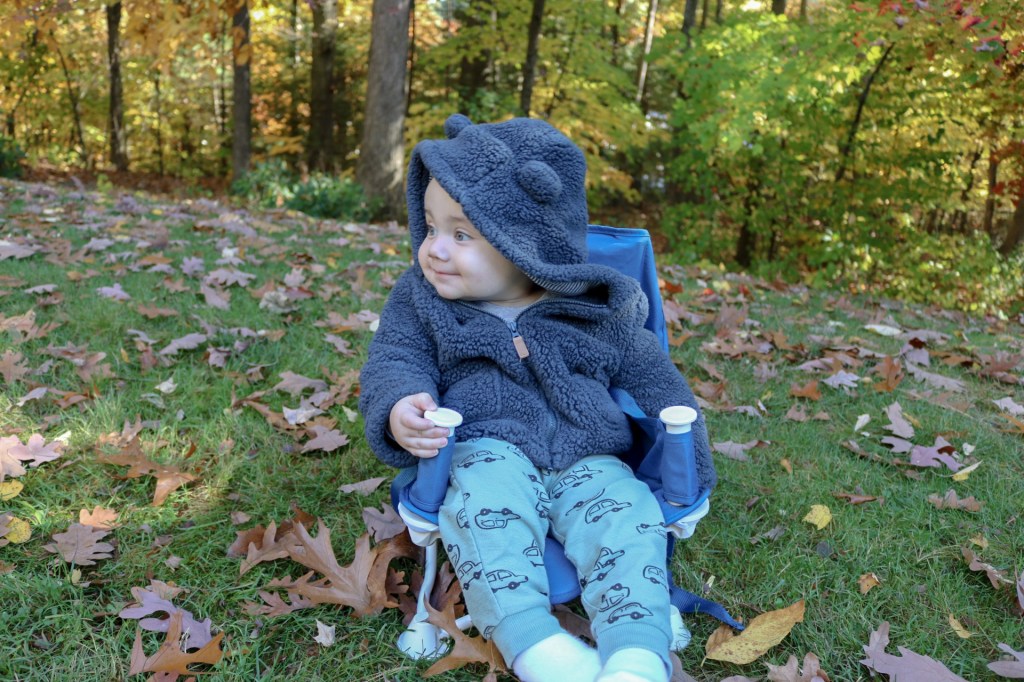
I am a tad rusty but I’m still happy with how these came out and it was a fun experience. Also not to mention my very cute model. Haha
I hope you found this to be helpful. Tried to give as much explanation + examples as I could. Photography techniques are not easy. I’m still learning too. But with that being said I will see you in my next post and in my next photoshoot session!
-L


1 comment