
Disclaimer- This shoot was done back in January 2021. Started this post but never finished until now. I’m not a professional. This is all just trial and error and something I genuinely enjoy doing so I still wanted to share it.
Today’s photoshoot consists of
A back drop over a clothing rack
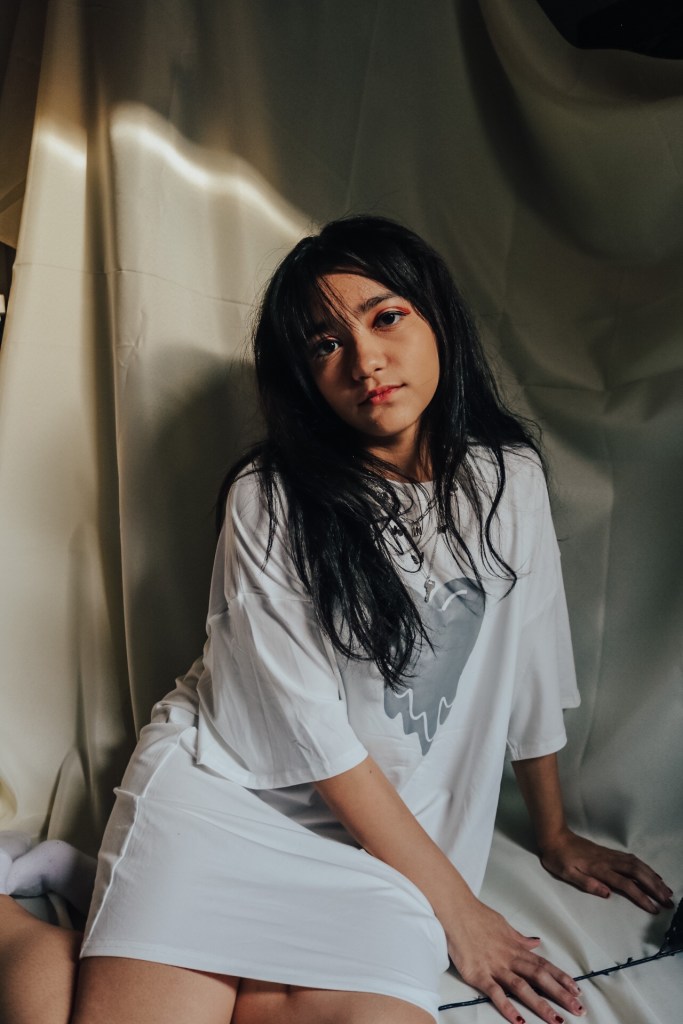
The prettiest shadows from the window in my room
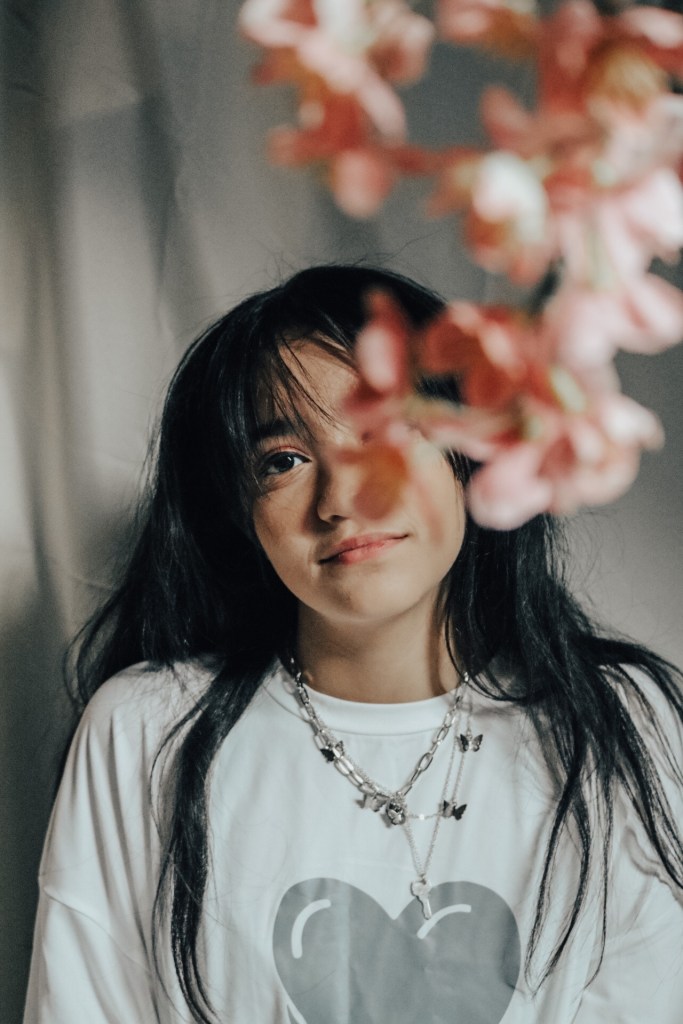
And a flower prop
If you’ve read my previous posts, you might know that I love photoshoot adventures. I’ve never done one indoors though. Winter months provide the perfect opportunity to try that since I rarely want to go out to shoot in the cold.
So the idea is to capture some portraits on a budget. Which is not only helpful to me but could also be helpful to any of you who are wanting some creativity without spending so much money on any sort of equipment.
Here’s what worked for me and cheaper alternatives.
Set-up for portraits usually consists of a tripod, backdrop, lighting, maybe props and of course, a camera or your phone. Although if you’re going to invest in something I’d suggest a good camera.
I have a canon rebel t6. I highly recommend it but you can’t go wrong with any other camera. A Nikon is really good too. Research is really all you need to pick out one that’s right for you and how to use it.
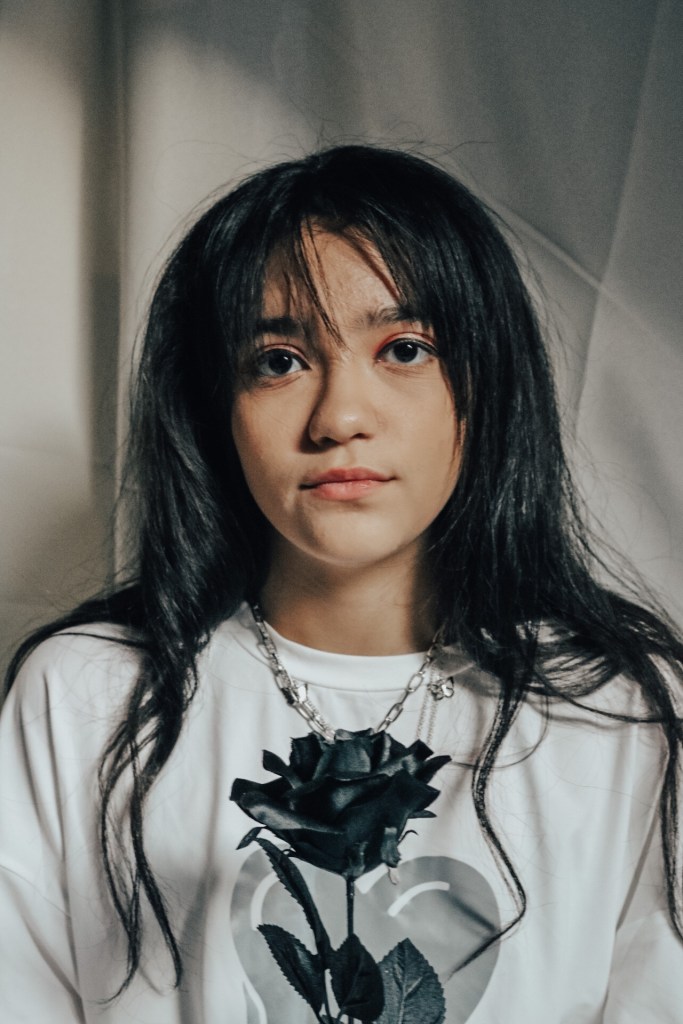
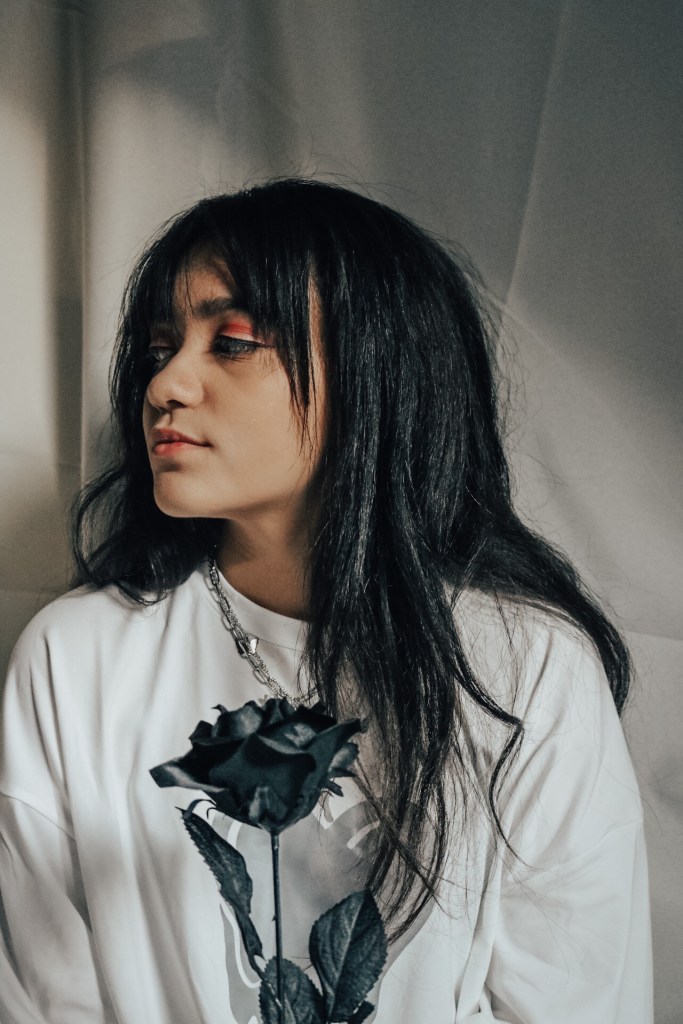
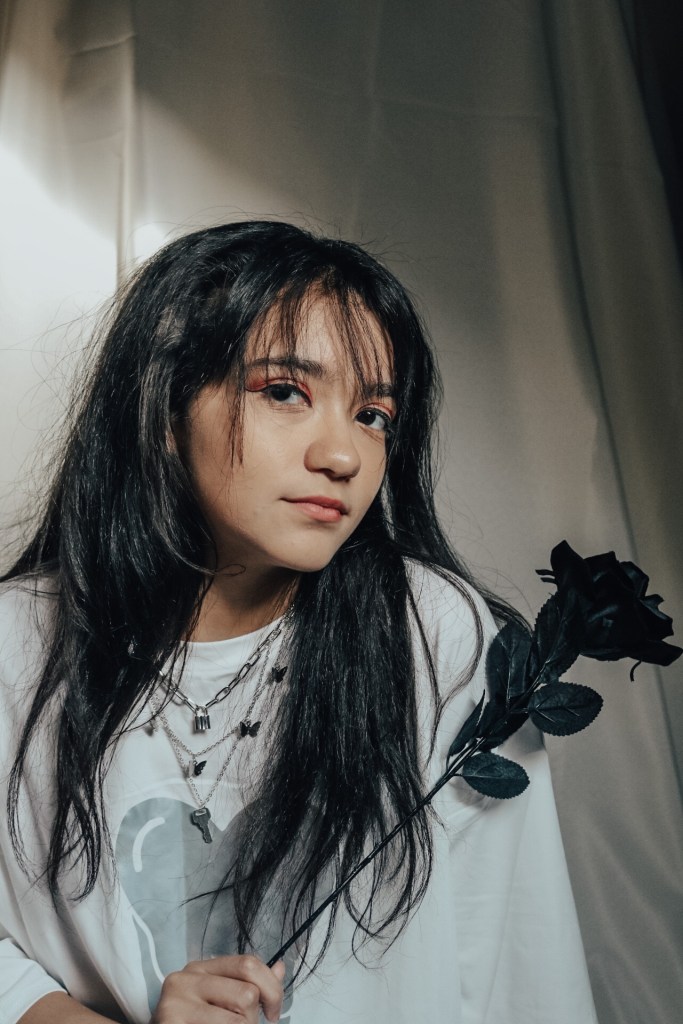
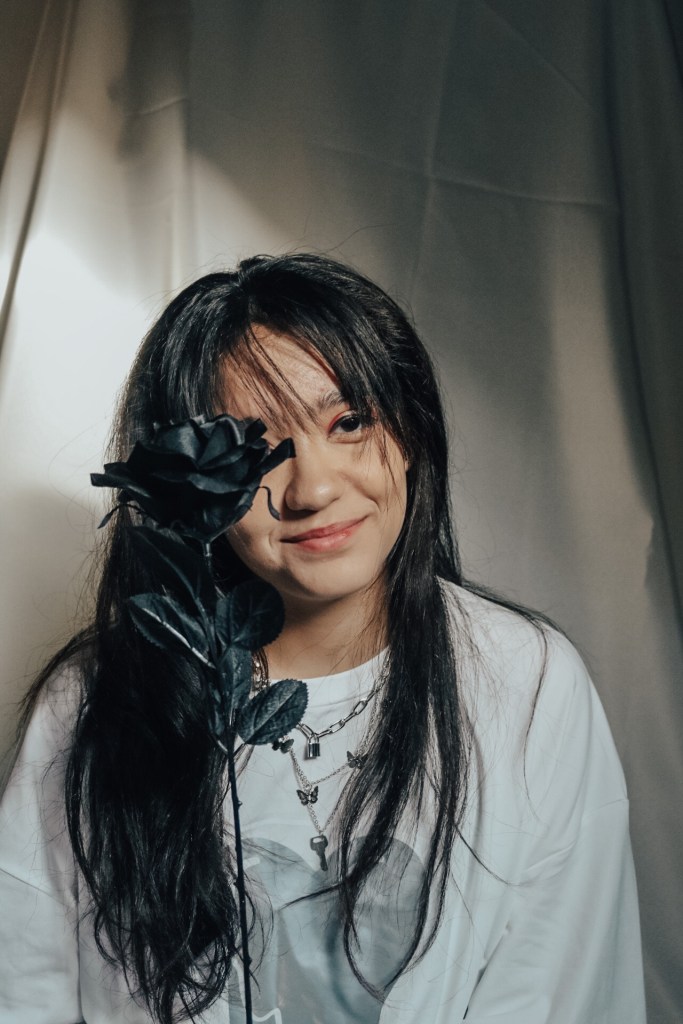
So I set my f/stop at a 5.0. F/stop is your aperture which is how you would set your depth of field or how your background would be set. For this shoot, our background would be blurred which makes for a wide aperture between 2.8-5.6. For a lot of these shots, we do see some of the texture in the back drop. I’ve never taken the effort to try out different f/stops until this shoot and I mainly stuck to 5.0 but there are some photos that vary slightly by the less blur in the background.
I did purchase a backdrop off of Amazon. I’ll leave it linked here.
Mine is this ivory color in an 8×10 and I’m so happy with this purchase. There are other colors but I’m glad I went with this one and the quality of this is perfect. It’s massive. Not see through and I can see this lasting a long time. Only thing is that I didn’t have a stand for it. I intended to purchase one but never got around to it. If you’ve read my how I organize my closet, you might remember seeing the infamous clothing rack. Basically draped this backdrop over the rack and it worked just as good as a stand would. The sides won’t lay flat though since it’s draped over. Unless you pin the sides down. So you won’t be able to use the whole size of the backdrop if you do my clothing rack trick. Just keep that in mind if that might bother you.
This is a link for a stand that I would’ve gotten.
The alternative for a backdrop would be to use a bed sheet. The downside is that a bed sheet is thinner so it could be see through depending on where you place it. So I wouldn’t place it too close to a window that has a lot of light coming through. Or just make sure it’s a very cloudy day. Easy ways to hang a bed sheet would be over a curtain rod. That would be the easiest. Or you could attach it to the wall with tape or push pins. Painters tape would be ideal. Could always use my clothing rack trick with this too.
I think we should see a few though

Okay so I didn’t use a tripod. My current one broke awhile ago. I couldn’t tell you how but I can say that it was cheap quality. If I could’ve used mine I would. But of course you don’t need one. Making do without one does add to the fact that you would have to make sure to keep your hands steady. That’s exactly what I did. Held my camera vertically as still as possible. Easiest alternative to not having a tripod. Although you could always prop your camera/phone on any hard surface. A phone would be easier to stand on it’s own but a camera would just have to be held in place because it’s not going to stand vertically on its own.
I love good natural lighting from giant windows. It’s the one thing that I don’t feel the urge to spend money on is lighting equipment. There was a little bit of sun coming through my window on this day which is what created the shadows. These were also shot around midday. If you don’t want any shadows I’d recommend a more cloudy day or shoot early in the morning or around the evening. And turn off any lights that might be in the room.
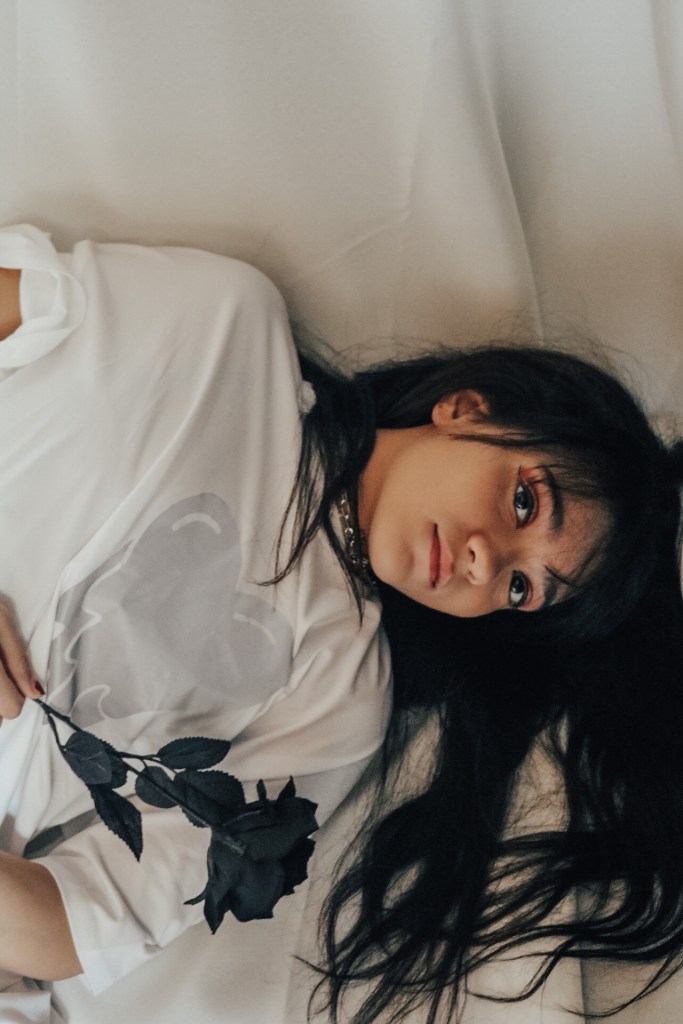
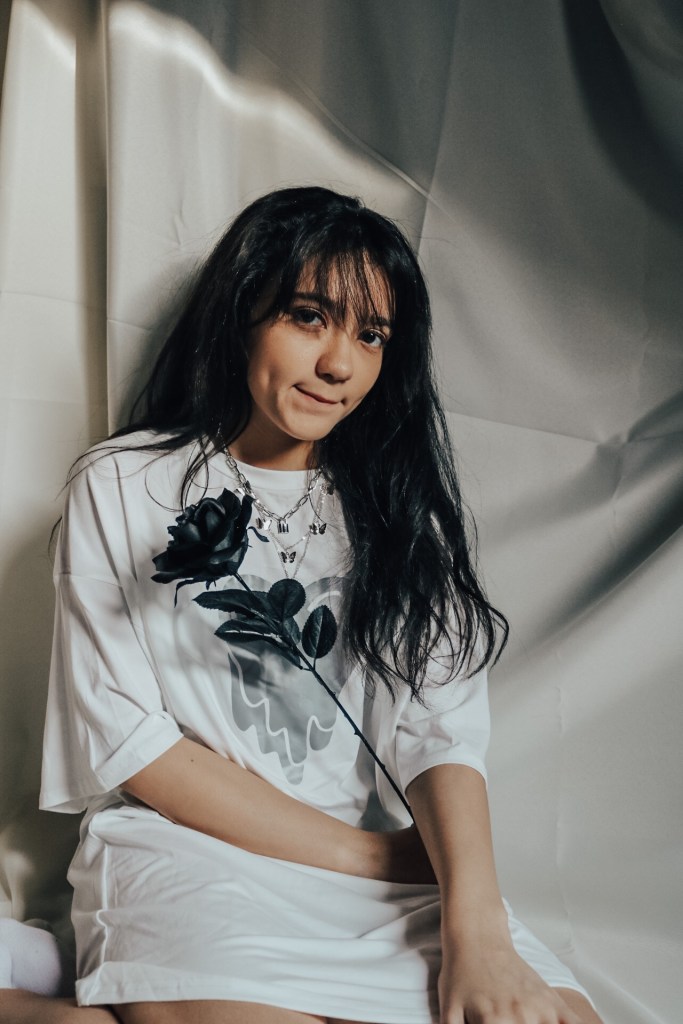
So I did get a few prop options
Fake flowers
Ring Light that changes changes color
Newspaper
The only one that made it was that one flower and I got a ton of other flowers in different colors. Although one other flower did make it in one shot.
I purchased this ring light off of Amazon. This one displays different colored lights which would’ve been cool if we used it.
Here’s another one that is both cheaper and more compact if you want to try studio lighting without all the extra colors of the previous one. It has a mini tripod that is easy to adjust just by moving the legs around which I think is the best feature.
The newspaper would’ve been used for a DIY. I was going to use them to make a mini collage on the wall instead of using a back drop. It’s pretty popular on Pinterest and I’ve always wanted to try it. This did not end up being the shoot for it though. I’ll have to save all this newspaper.
So if you’re wanting to use props I’d suggest figuring out exactly what you’d want to use first so that you’re not left with other options that have already been purchased. Or find things around your house to save money. Or get things that are on the cheaper side. Amazon is your friend.
Deciding what to wear for portraits should be relatively easy since it’s from the waste up. Just make sure that you don’t match with the backdrop. It could happen. I did get a few full body shots which ironically were my favorite shots so I had to still include them.
This has been my favorite shoot so far. Came out very moody and we love that. Also turned out to be much better than anticipated given my lack of expertise in portrait shooting. It’s a process.
I hope that this was helpful in some way to you guys. Or at least a little bit entertaining. But for now I will see you in my next post
-L
